Creating a Login Profile
From your server, double-click the e-admin icon or select Start > All Programs > ECi > e-admin. E-admin displays the login window.

If you have never created a profile, click the pencil icon  to create a login profile (or click [OK] if Profile is set to <create new logon profile>).
E-admin displays the Manage Logon Profiles window.
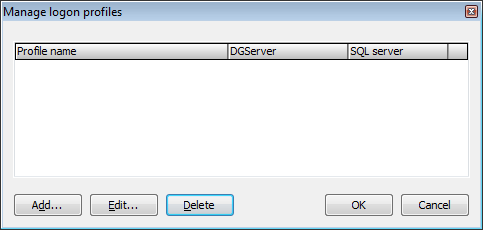
Click [Add] to open the Edit Logon Profile window.
In the SQL server field, enter the name of your SQL server or the IP address of your SQL server computer. If you are running an instance of SQL Server, you need to specify in the SQL server field the full named instance of the SQL server. For example, ServerName\SQLServerInstance. For more information on identifying the SQL server name, contact your system administrator.
When entering information in the SQL server field, e-admin automatically populates the DGServer field, if you have a SQL instance and you type it into the SQL server field, the DGServer field will not duplicate the instance. This is working as designed; the DGServer field should have the server name and not the instance.
Click [Next >>] to name the login profile.
In the Profile name field, make no change to use the default name displayed or enter an override name for the profile. The name you enter here is the name e-admin will list for you to select in the Profile field on the e-admin logon window.
Click [Finish] to save your profile, or click [<< Previous] to return to previous screens if you need to make changes.
Release Support Ends July 31, 2026Release Support Ends July 31, 2026
©2026 ECI and the ECI logo are registered trademarks of ECI Software Solutions, Inc. All rights reserved.