First-time E-automate Client-only Installation
Using the same installer you downloaded to install the e-automate server, you can install the e-automate client on each machine you will be using to access e-automate on the server.
The e-automate installer provides the following two options for installing e-automate on a client machine:
Client Local User Install
Installs the client components only (e-automate and e-views).
Installs these components only for the currently logged-in user.
Does not require administrative privileges to process.
Installs the software to the following default location:
C:\Users\username\AppData\Local\ECi\ (where username is the user name of the currently logged-in user)
Note: Windows may hide this folder location by default to protect the files from accidentally being modified or deleted. To verify files installed in this location, see the Unhide Files and Folders in Windows topic.
Does not provide an option to customize the default installation location.
Client Machine Install
Installs the client components only (e-automate and e-views).
Installs these components for all users.
Requires administrative privileges to process.
Installs the software to the following default location:
C:\Program Files (x86)\ECi\
Provides an option to customize the default installation location.
Note: This installation option is not recommended for general use because it will prevent the auto-update from working for users who do not have administrative privileges. This option is available mainly for special situations (e.g., installing e-automate on a terminal server).
Using the information listed above as a guide, select any one of the following options to complete the client installation on each machine from which your company will be accessing e-automate on the server.
Using the Client Local User Install OptionUsing the Client Local User Install Option
To use the Client Local User Install option, do the following:
Open the e-automate Microsoft Installer (MSI) file to access the E-automate Setup window.
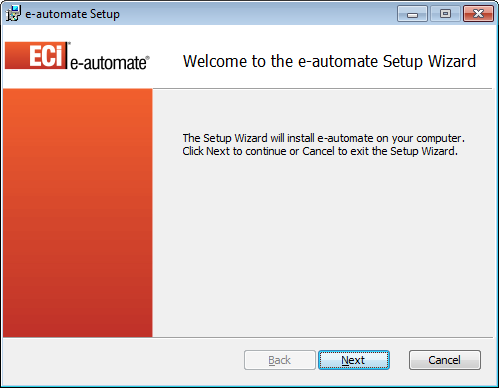
On the Welcome to the E-automate Setup Wizard window, click [Next] to continue.
The system displays the Installation Features window.
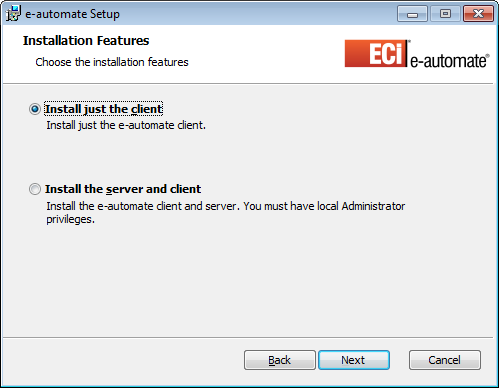
Select the Install just the client radio button.
The system displays the Installation Scope window.
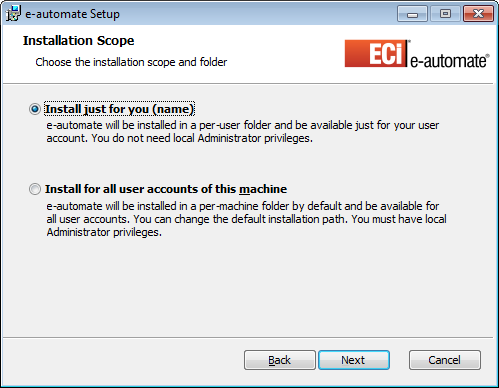
Select the Install just for you (name) radio button (where "name" is the logged-in user's user name).
The system displays the Ready to Install E-automate window.
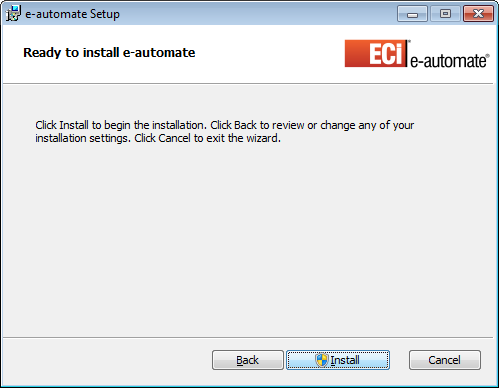
Click [Install] to begin the installation.
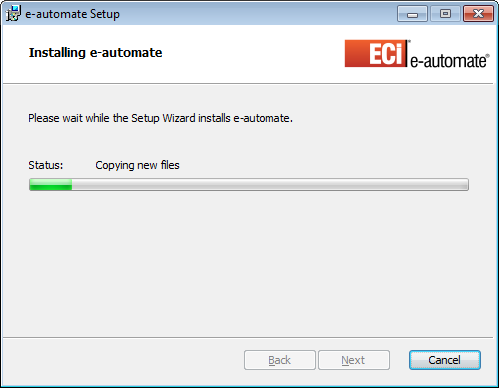
The system displays the Installing E-automate window while installing to the default location the client components for the currently logged-in user.
When the installation is complete, the system displays the Completed the E-automate Setup Wizard window.
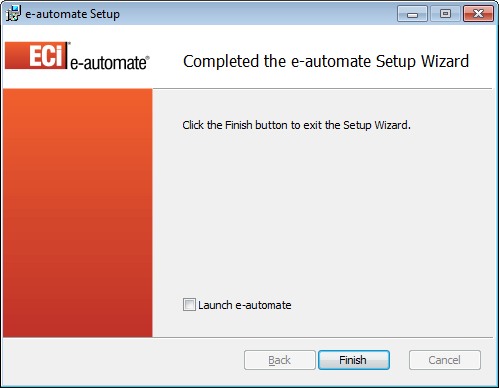
To have the system open e-automate when you close the installer, check the Launch e-automate box.
Click [Finish] to close the E-automate Setup window.
Note: Consistent with Microsoft installer (MSI) file processes, this installer creates an ECi folder with e-automate and e-views options in the Windows Start menu; it does not automatically create Windows desktop shortcuts for these programs.
To create a Windows shortcut, do the following (based on Windows 10):
Navigate to the folder where you installed the software (by default, C:\Users\username\AppData\Local\ECi\e-automate for a per-user install or C:\ProgramFiles (x86)\ECi\e-automate for a per-machine install).
Right-click the program icon for which you want to create a shortcut.
From the right-click menu, select Create shortcut. The system displays the message, "Windows can't create a shortcut here. Do you want the shortcut to be placed on the desktop instead?"
Click the [Yes] button to close the message and to have the system place the shortcut on the desktop.
To pin a program to the task bar, do the following (based on Windows 10):
Click the Start menu icon.
Scroll to the ECi folder.
Click the folder's drop-down menu icon to display the e-admin, e-automate, and e-views programs.
Right-click the program you want to pin to the task.
From the right-click menu, select More >.
From the More > menu, select Pin to taskbar.
Using the Client Machine Install OptionUsing the Client Machine Install Option
To use the Client Machine Install option, do the following:
Open the e-automate Microsoft Installer (MSI) file to access the E-automate Setup window.
On the Welcome to the E-automate Setup Wizard window, click [Next] to continue.
The system displays the Installation Features window.
Select the Install just the client radio button.
Click [Next] to continue.
The system displays the Installation Scope window.
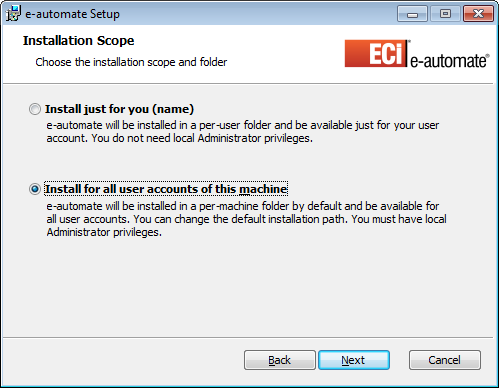
Select the Install for all users of this machine radio button.
Click [Next] to continue.
The system displays Destination Folder window.
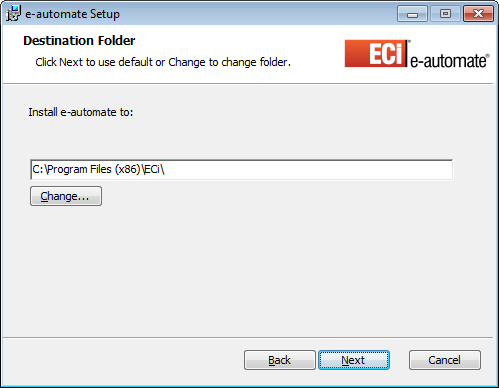
Do one of the following:
To proceed with the default installation location, click [Next].
To change the installation location, do the following:
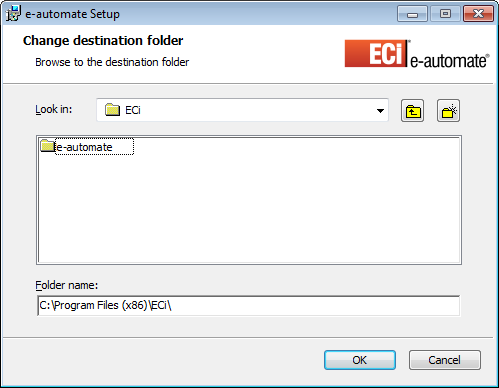
Click [Change] to access the Change Destination Folder options.
In the Folder name field, enter the destination folder to use for the installation
Note: You can use the navigation features available on this window to navigate to the folder you want to use. When you navigate to and select a folder, the system updates the Folder name field on this window.
Click [OK] to close this window and transfer the destination folder location in the Folder name field to the E-automate Setup window's Install e-automate to field.
Click [Next] to continue.
The system displays the Ready to Install E-automate window.
Click [Install] to begin the installation.
The system displays the User Account Control window.
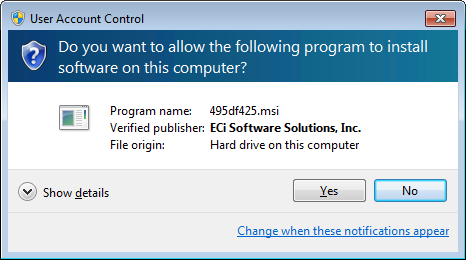
Click [Yes] to allow this program to proceed with installing the e-automate software components on this computer.
Note: If you do not see this message when you begin the installation, check to see if it is minimized on your task bar.
The system displays the Installing E-automate window while installing to the specified destination folder the client components for all users of this machine.
When the installation is complete, the system displays the Completed the E-automate Setup Wizard window.
To have the system open e-automate when you close the installer, check the Launch e-automate box.
Click [Finish] to close the E-automate Setup window.
Note: Consistent with Microsoft installer (MSI) file processes, this installer creates an ECi folder with e-automate and e-views options in the Windows Start menu; it does not automatically create Windows desktop shortcuts for these programs.
To create a Windows shortcut, do the following (based on Windows 10):
Navigate to the folder where you installed the software (by default, C:\Users\username\AppData\Local\ECi\e-automate for a per-user install or C:\ProgramFiles (x86)\ECi\e-automate for a per-machine install).
Right-click the program icon for which you want to create a shortcut.
From the right-click menu, select Create shortcut. The system displays the message, "Windows can't create a shortcut here. Do you want the shortcut to be placed on the desktop instead?"
Click the [Yes] button to close the message and to have the system place the shortcut on the desktop.
To pin a program to the task bar, do the following (based on Windows 10):
Click the Start menu icon.
Scroll to the ECi folder.
Click the folder's drop-down menu icon to display the e-admin, e-automate, and e-views programs.
Right-click the program you want to pin to the task.
From the right-click menu, select More >.
From the More > menu, select Pin to taskbar.
After installing the client software on each machine, use the Creating a Login Profile process to add a logon profile for each user.
Non-supported ReleaseNon-supported Release
©2022 ECI and the ECI logo are registered trademarks of ECI Software Solutions, Inc. All rights reserved.